Aluminum Boat Polishing
by
Hannah Pennebaker , May 09, 2021
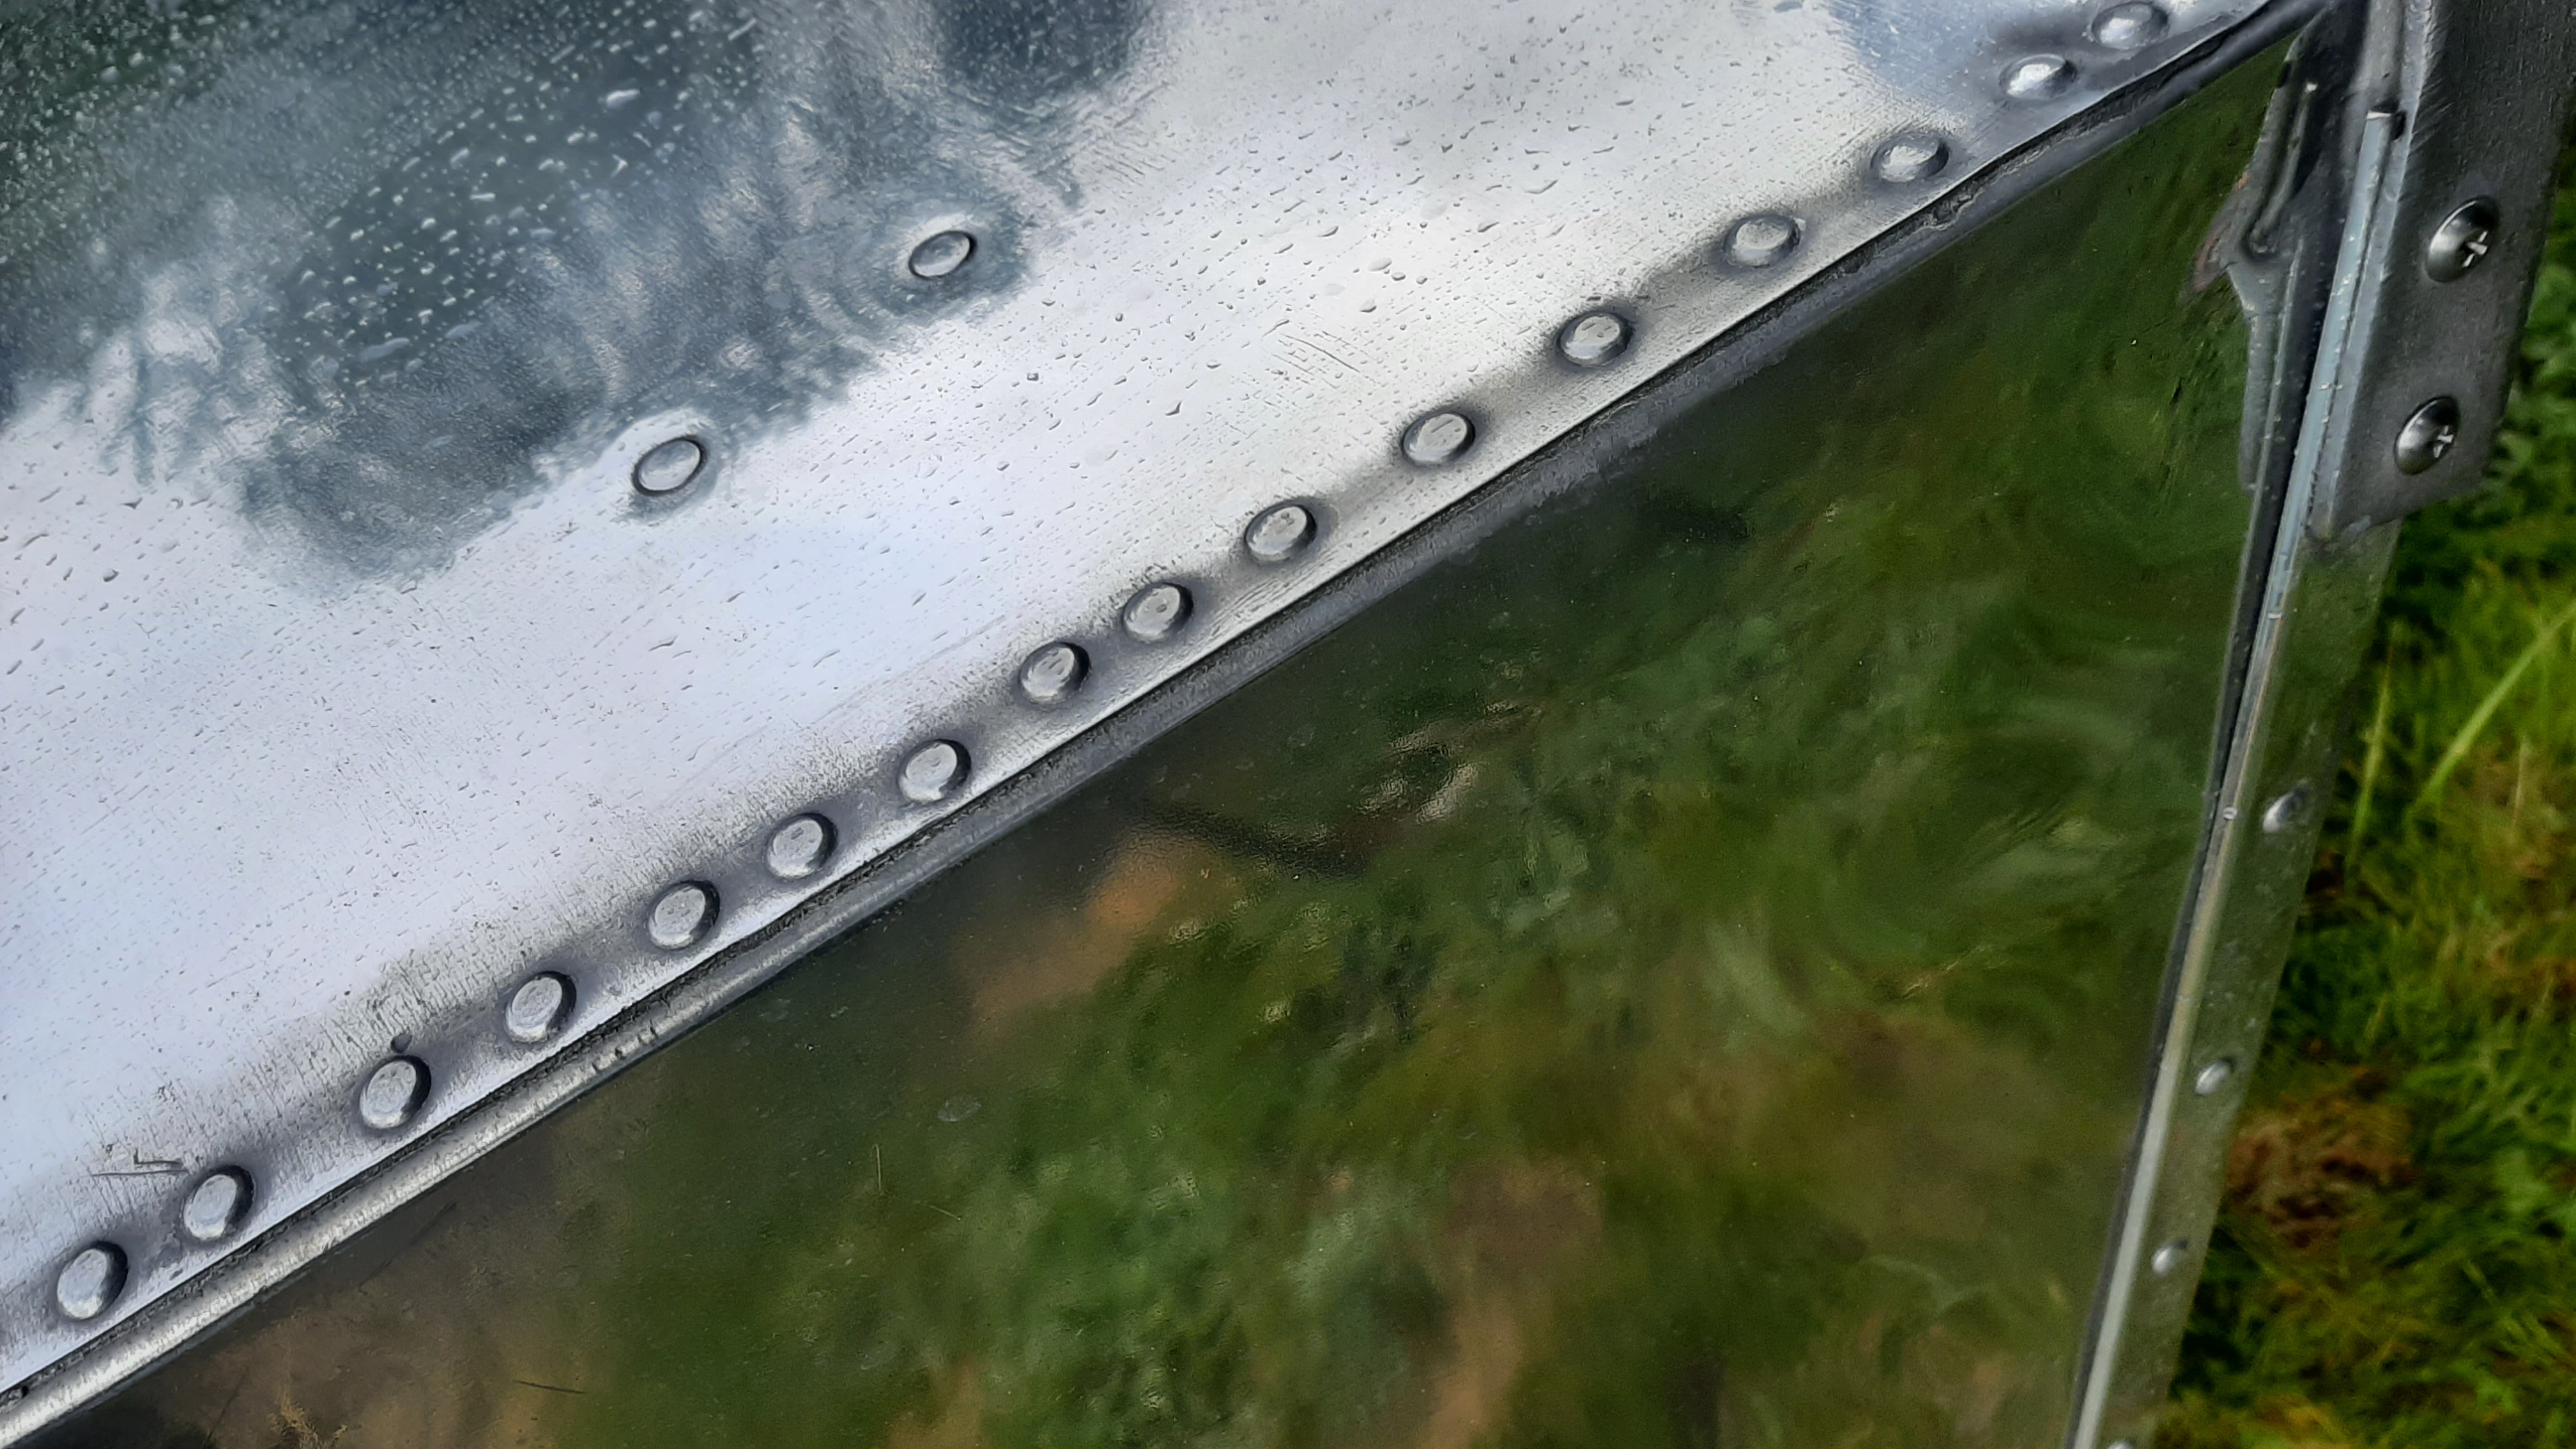
Aluminum boats are extremely popular in the Pacific Northwest for a good reason. They are durable and hardy enough to withstand the choppiest water and nastiest weather. They are generally lighter than fiberglass boats and hold their value more. However, the downside is that after a few years, that nice shiny finish will inevitably begin to oxidize and dull. Luckily, there is a way to bring that cloudy metal back to a mirror shine. It does take some elbow grease, but polishing aluminum boats is a worthwhile skill to learn. It's a great way to restore a family heirloom, bring up a boat's value before selling it, or just turn some heads while you're out on the water. There's no quicker way to transform that old fishing boat into a shiny fishing machine!
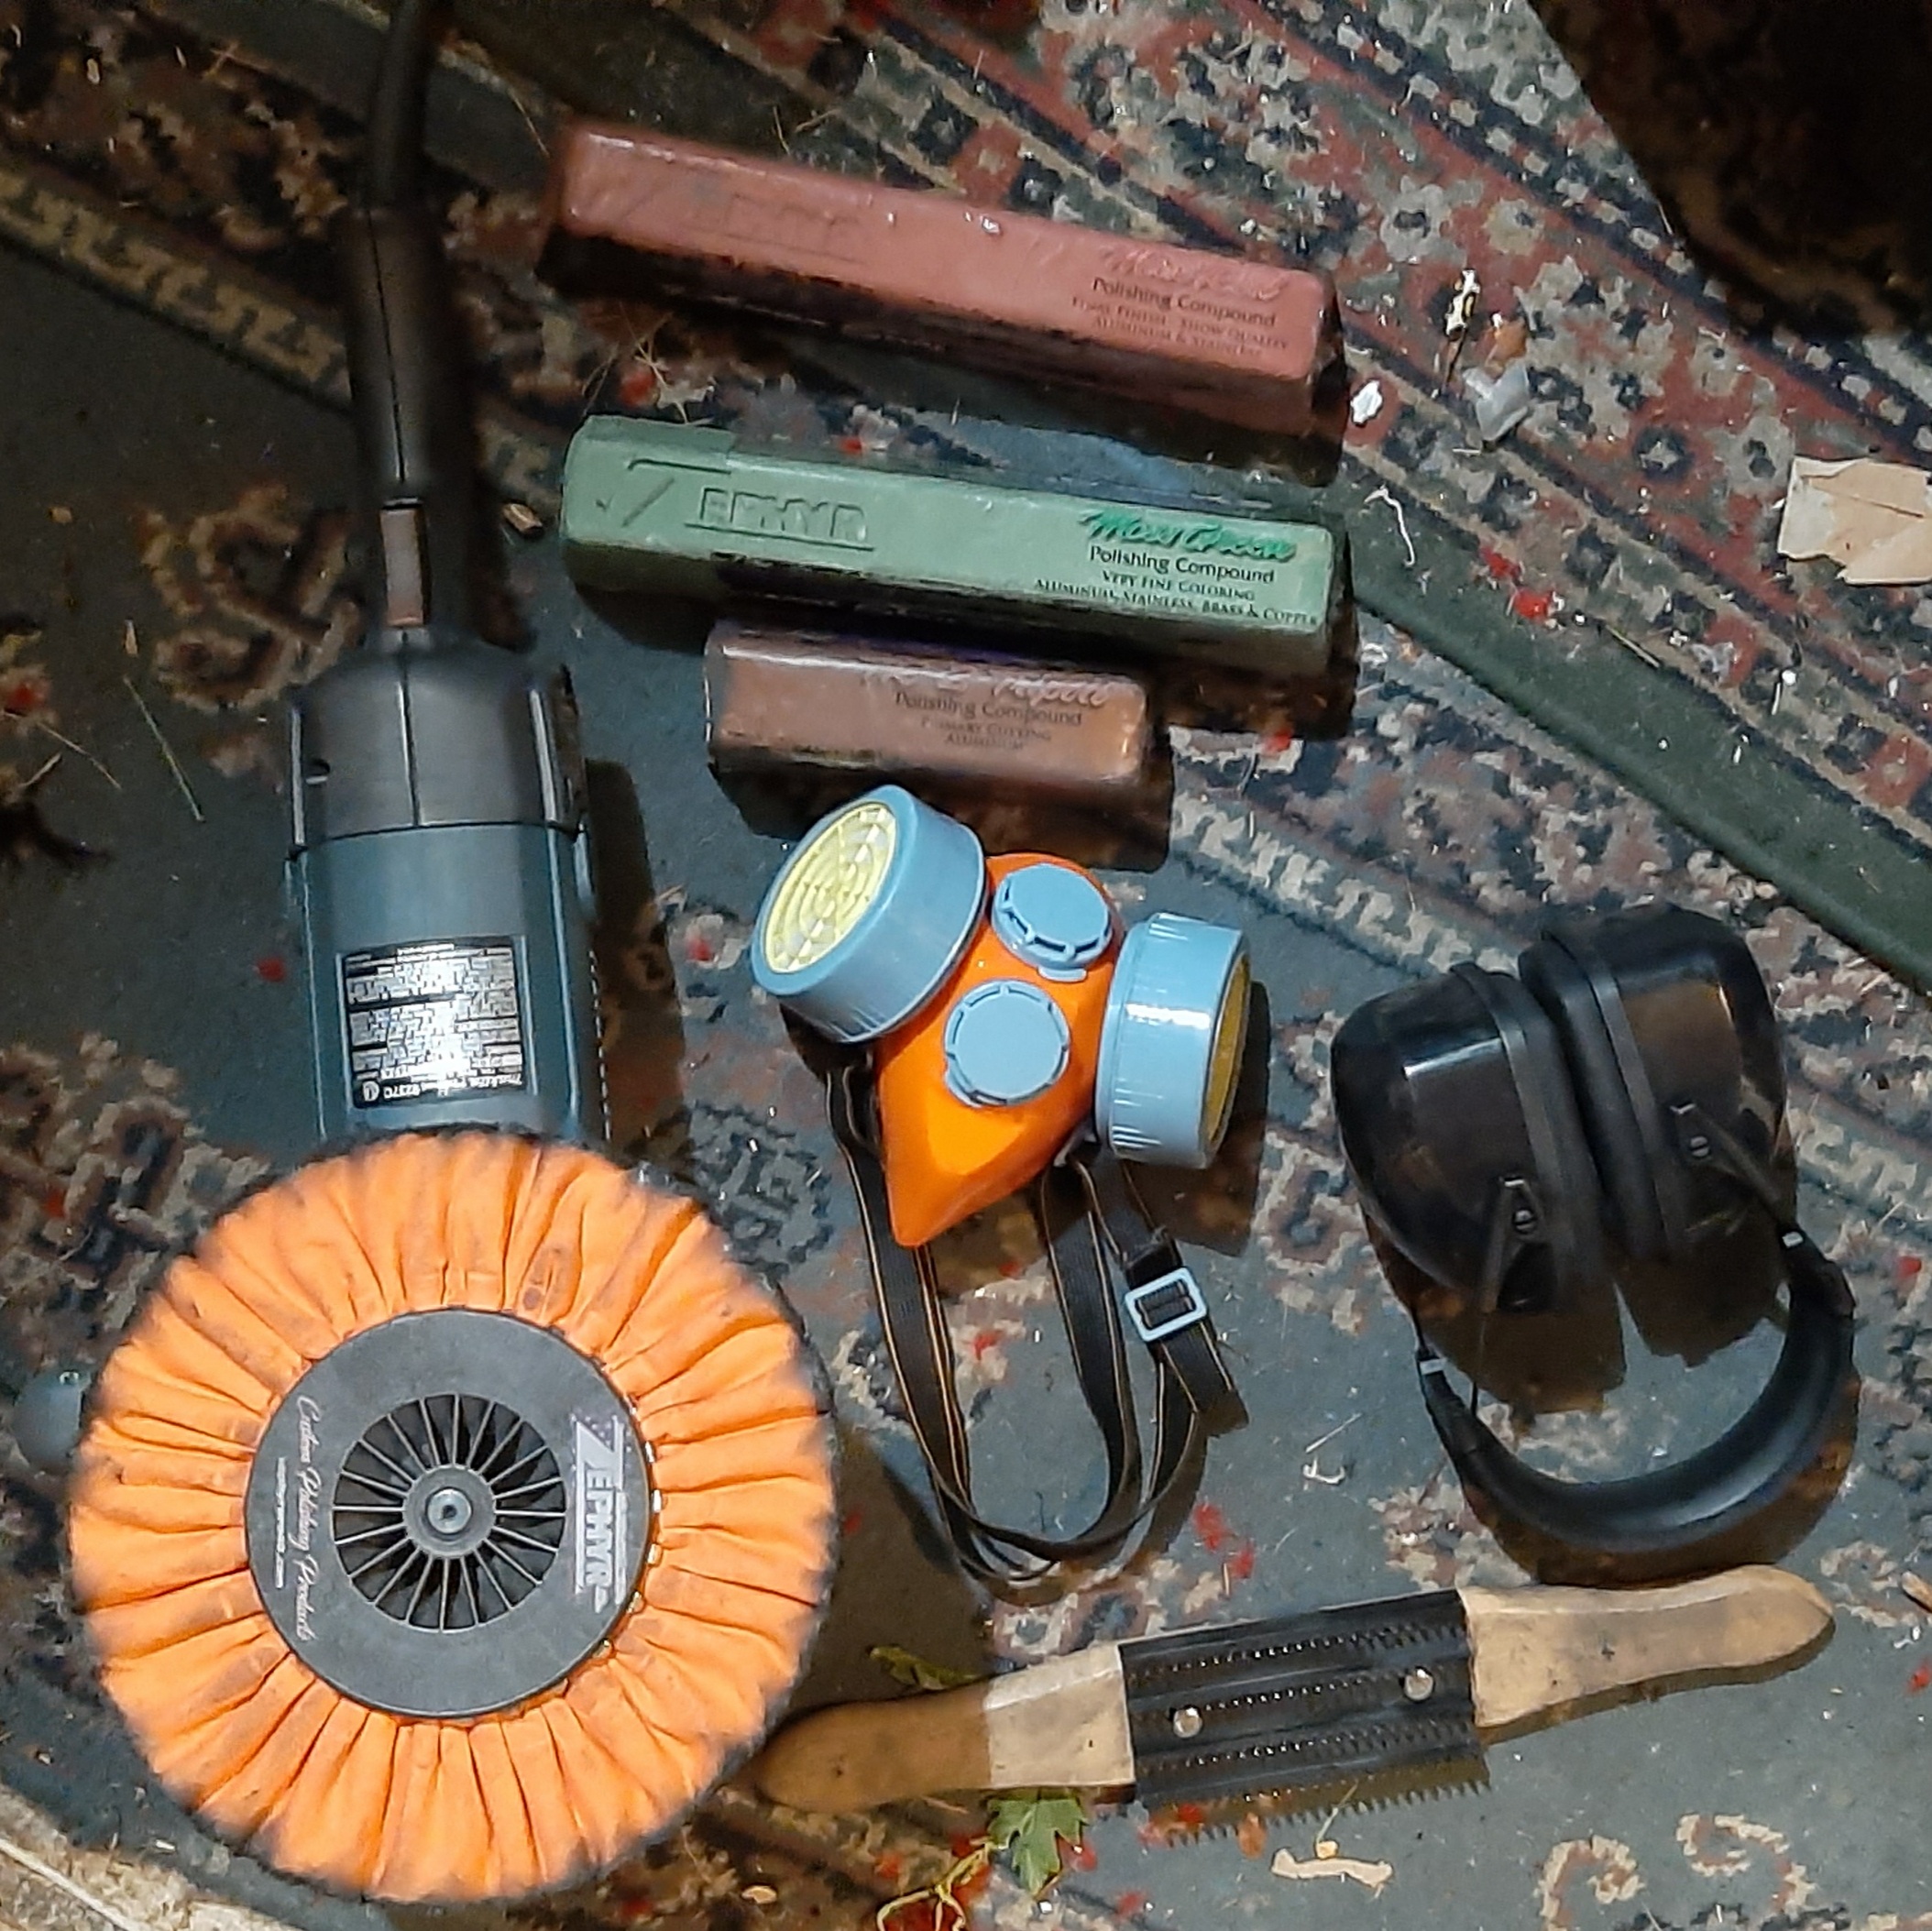
You'll need some equipment to get started. For safety reasons, you'll want hearing protection in the form of over ear earmuffs or earplugs. Buffing wheels are loud and it's a good idea to protect your hearing in the long term. Goggles or a face shield will protect your eyes and sensitive areas of your face from flying debris. A proper respirator or N-95 mask will protect you from breathing in contaminants. Polishing can be messy work, so you'll want to wear clothes you don't mind getting dirty. Gloves are a good idea, as your hands are closest to the tool and get the dirtiest. Safety first!
As far as polishing equipment goes, the most important thing to have is a reliable buffing and polishing tool. An orbital rotary buffing tool like you'd use for waxing cars works just fine. I don't recommend using an angle grinder however, the high RPM's make them unsuitable for polishing and buffing jobs. Most local hardware stores can set you up with the right tool. As convenient as battery powered buffers are, I'd recommend a corded one as they are cheaper and more reliable: you won't have to stop and wait for your battery to charge while you're in the middle of the job. Rotary tools are a good investment as you can use them for waxing and polishing cars too.
Proper aluminum polishing involves 3 stages: the cutting stage, intermediate buffing, and final polish. The first step is the most important and will take the most time if done right. The second stage will be much easier if you take more time with the previous stage. Each stage uses progressively softer pads and finer buffing compounds in order to achieve that mirror like finish. You'll need to get 3 different wheels and buffing compounds. You can find sets of these online. Course, medium, and fine will be the 3 types of wheels and bars. Wheels come in sizes from 7 inch to 12 inch. Select the size that your rotary tool is rated for. Buffing compounds generally are in the form of bars. Each bar will last you a long time. Just like the wheels, you'll want to get coarse, medium, and fine buffing compounds. The buffing compounds contain small amounts of sandpaper depending on the coarseness, and when rubbed on your buffing wheels will assist in polishing more quickly. Both are necessary to achieve that perfect shine.
Now that you've got your wheels and buffing compounds, we'll move on to technique. Make sure you are in a well ventilated area and don't forget to put on your respirator, goggles, and hearing protection. First off, fire up your rotary tool and apply some course buffing compound. You'll be using the side of the wheel to polish. I usually hold my rotary tool in my left hand and the bar in my right. Gently press the wheel against the bar for about 5 seconds to make sure the entire wheel gets coated with compound. Now you're ready to polish! Make sure you've got the boat in a stable position where you can firmly press down with the rotary tool without it moving or shifting. Press down evenly but firmly on the boat with the side of the wheel, and sweep over a 3x3 section. Once you no longer notice the tool taking off material, stop polishing. You now need to get the aluminum off your wheel and apply more buffing compound. A specialized rake is a small metal tool you can get online for less than $10, or you can use a block of wood. Step on the rake or block of wood securely, and press your buffing wheel against it (while it's still running) for about half a second to scrape off the aluminum buildup. The aluminum buildup will scratch your boat and prevent polishing, so it's necessary to remove every few minutes. Reapply buffing compound, and go back to polishing. Repeat these steps as soon as you notice the rotary tool not polishing. A word of caution, be careful around the corners and curves of the boat: hold the rotary tool firmly and maintain control. Once you've completed the first stage, take your shop towels or a pressure washer and clean off the buildup from the boat. It should be noticeably shinier already, but not quite mirror finish. Move on to the next 2 stages, changing out your buffing wheel and polishing compound accordingly. After each stage the boat will be noticeably shinier. After you finish stage 3, you'll be left with a mirror finish!
Now that you've got a mirrorlike aluminum boat, how do you maintain that shine? I highly recommend waxing your boat every few months. You've already got the rotary buffing tool; all it takes is a microfiber pad and some wax. Any automotive wax will work just fine. Apply some wax onto your wheel and wax the entire boat. Wait about 10 minutes for the coating to become hazy, then buff it to a shine. Now that mirror finish will last indefinitely.
Polishing your aluminum boat is a very satisfying way to spend an afternoon. It's fun to see a cloudy, dull boat transform into a shiny, showroom ready boat. This method doesn't just work for boats, either. You can also polish aluminum pontoons, tanks, and wheels. The compounds and buffing wheels should last for many more jobs. Rotary tools are also great for polishing and waxing cars!
A little bit of elbow grease can truly transform your old aluminum boat into a show stopper!
Comments
Why is this comment inappropriate?
Delete this comment? Provide reason.